Buyer's Guide · Cycling (General)
Bike Bell: The Complete Guide
Types, the law, fitting and etiquette for the cheapest piece of cycling safety kit you can buy.
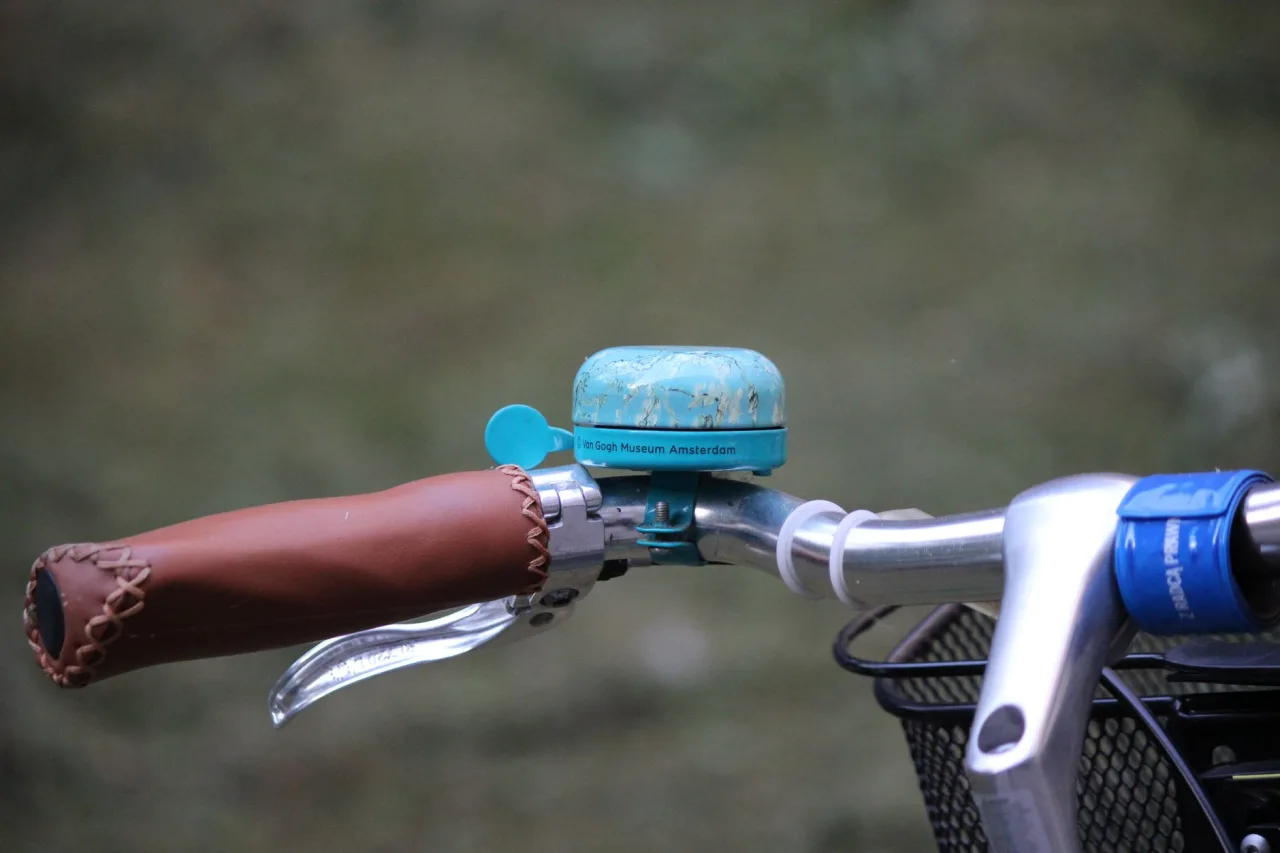
A bike bell is the cheapest piece of safety equipment you can buy, and in some places it is legally required. It lets you warn pedestrians and other cyclists politely and early, long before a shout or a swerve becomes necessary. This guide covers the types, the law, how to fit one, and how to use it well.
The short version
- A bike bell is a percussive signaling device mounted on the handlebars to warn people you are approaching.
- The most common design uses a thumb-operated lever that spins metal discs for a clear ring; simpler spring-clapper "ding-dong" bells are cheaper but perform poorly when wet.
- Some places require a bell by law. New bikes sold in the United Kingdom have needed one since 2011, and several other regions mandate a bell or horn.
- Expect roughly 5 to 30 US dollars for a good bell. Prices vary, so confirm locally.
What a bike bell is and why it matters
A bike bell is, in Wikipedia's words, a percussive signaling instrument mounted on a bicycle for warning pedestrians and other cyclists. It is typically fixed to the handlebar and operated with the thumb. The invention is usually credited to John Richard Dedicoat, with patents appearing as early as 1877, so the humble bell has been keeping riders and walkers safe for well over a century.
The value of a bell is that it communicates early and without aggression. A friendly ring from a distance gives a pedestrian time to react calmly, which is far better than surprising them at close range. On shared paths especially, a bell is often the difference between a smooth pass and a near miss.
The main types of bike bell
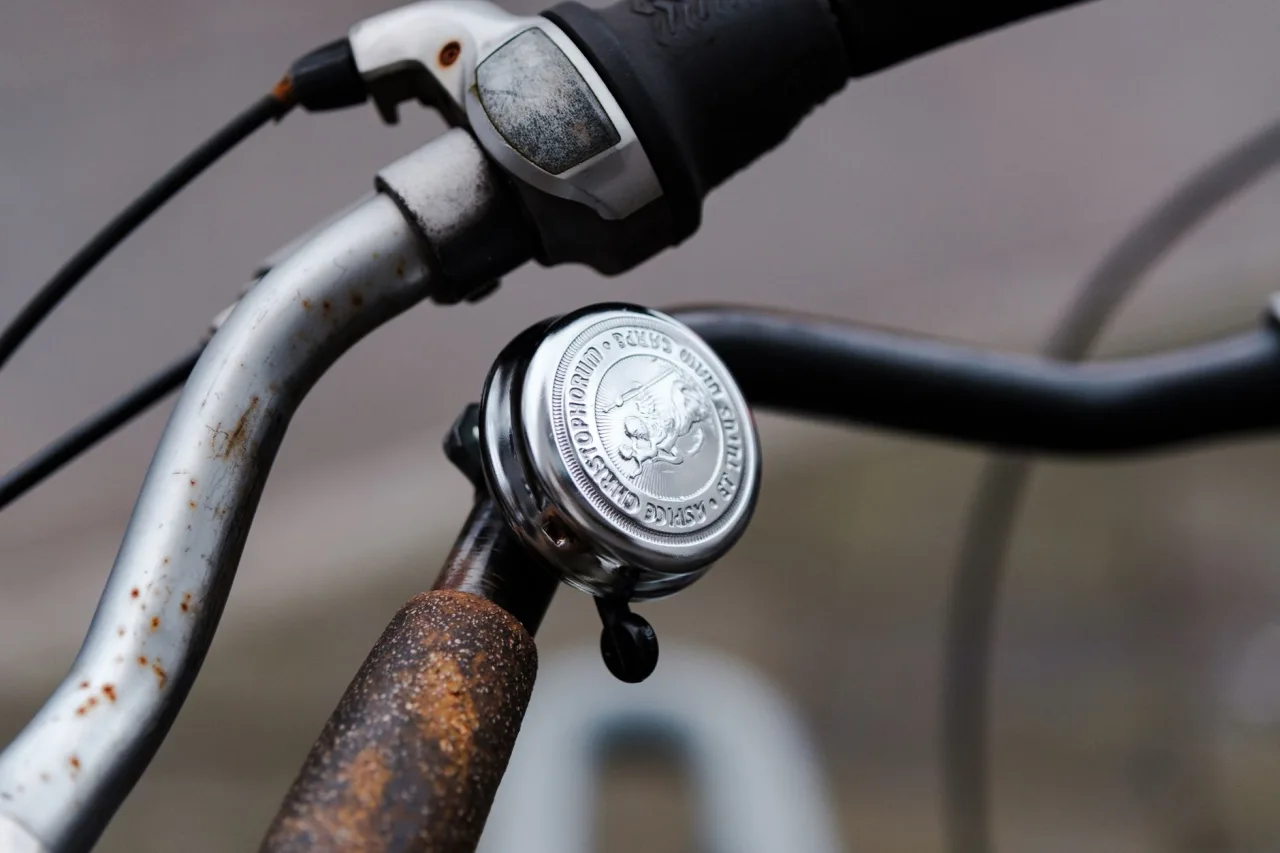
- Classic rotary (thumb-lever) bells: The most prevalent design. A thumb-operated lever rapidly spins two loosely slung metal discs inside the housing to produce a clear, ringing "brrring." They are loud, reliable, and available in left- and right-handed versions to suit different setups.
- Spring-clapper "ding-dong" bells: A simple external clapper strikes a dome for a single or double chime. They are cheap and charming but, as Wikipedia notes, they perform poorly when wet, which limits them in real-world conditions.
- Flick or ping bells: A small lever or button you flick for a single crisp "ping." These are compact and light, popular on road and gravel bikes where handlebar space is tight.
- Integrated and grip-mounted bells: Some designs build the bell into a bar-end or grip collar to save space and look tidy.
Electronic horns exist too, but they are louder and more aggressive than a bell and are restricted in some places, so a traditional bell remains the sensible default for most riders.
Buyer tip
- Choose a bell with a clear, sustained ring rather than a dull click. On a busy shared path, a longer ring carries further and is easier for a distracted pedestrian to notice. Test the sound in the shop if you can.
Is a bike bell required by law?
It depends on where you ride, and rules change, so always confirm your local regulations. Wikipedia's overview lists several jurisdictions that mandate a bell or audible warning device:
- United Kingdom: new bikes have been required to be sold with a bell since May 2011, though rules on using one on the road differ.
- New Jersey, United States: a bell audible from at least 100 feet is required, and sirens or whistles are prohibited.
- Ontario, Canada: bikes must have a working bell or horn.
- Western Australia: riders must have a bell or other warning device fitted.
Not every region requires one; the Czech Republic, for example, dropped its mandate in 2002. Because the details vary and are updated over time, treat this as a starting point and check your local traffic authority for the current rule.
How to fit a bike bell
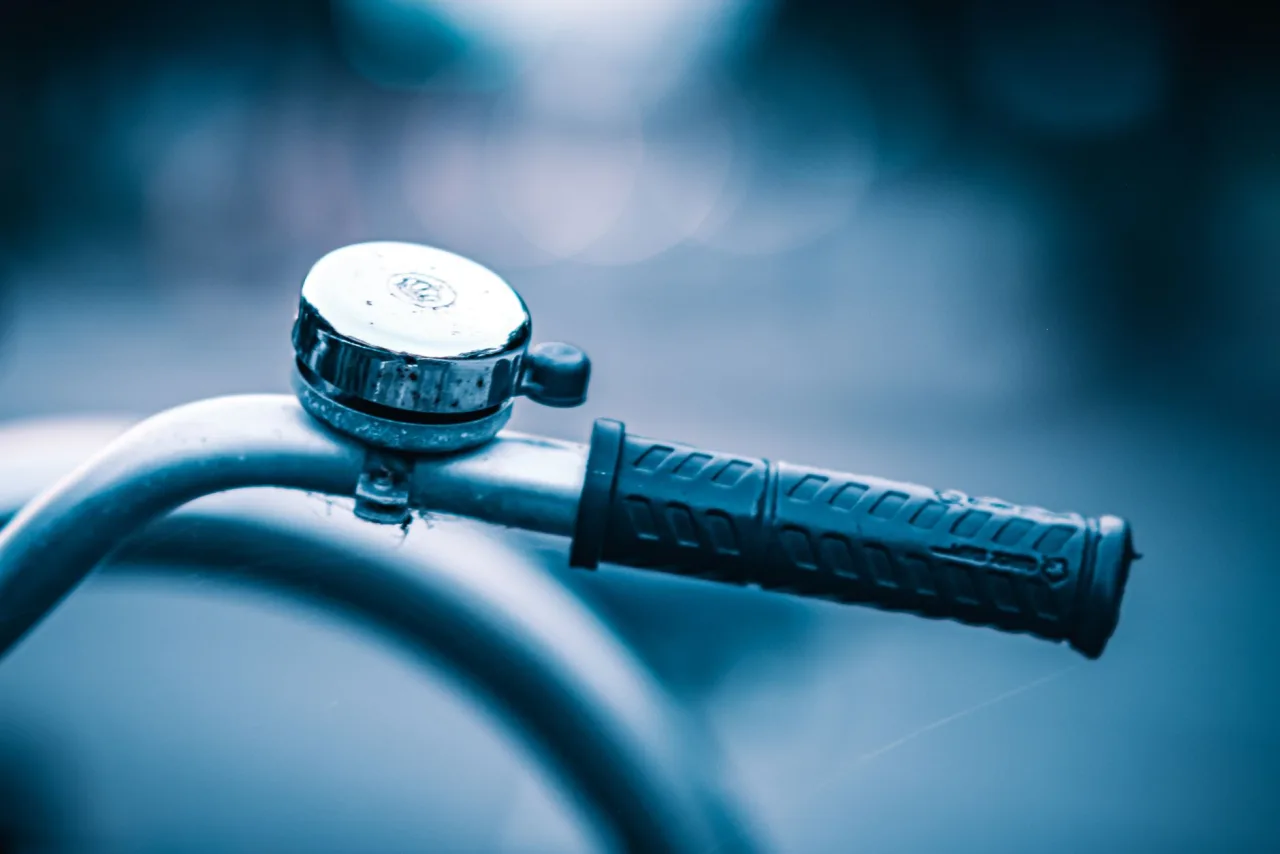
Fitting a bell is a two-minute job that needs no special tools beyond a small Allen key or screwdriver.
- Pick the spot. Mount it within easy thumb reach of your normal hand position, usually just inboard of the grip.
- Check clearance. Make sure the bell does not interfere with brake levers, shifters, or your grip.
- Fit the clamp. Open or loosen the clamp band, seat it on the bar, and tighten until it is snug but not crushing, especially on carbon bars where over-tightening can cause damage.
- Test the action. Ring it a few times to confirm it sounds clearly and springs back cleanly.
If your handlebars are crowded with a light, a computer, or other accessories, a compact flick bell or a bar-end design will fit where a large rotary bell will not.
Using your bell with good etiquette
A bell is a courtesy, not a demand. Used well it makes you welcome on shared paths; used badly it annoys everyone. A few simple habits help:
- Ring early, from a comfortable distance, so people have time to react without being startled.
- One or two gentle rings is plenty. Repeated aggressive ringing reads as impatience.
- Slow down as you approach and be ready to stop; the bell warns, it does not give you right of way.
- A friendly "thank you" or wave as you pass goes a long way.
Safety note
- A bell is one layer of safety, not the whole system. Pair it with a properly fitted helmet and good lights for low-light riding. Our bike helmet guide and bike lights guide cover the essentials that keep you visible and protected.
What a bike bell costs in 2026
Bells are inexpensive, so there is little reason to skip one. Prices vary by brand and design, so treat these as ranges and confirm locally.
- Basic spring-clapper or flick bells: roughly 5 to 12 US dollars.
- Quality rotary and design-focused bells: roughly 12 to 30.
A bell is a small, worthwhile addition when you buy a new bike or refresh your kit. If you are assembling a full setup, our cycling gear guide covers the other accessories worth having, and a good local bike shop can fit a bell for you in minutes.
Frequently asked questions
What is a bike bell and how does it work?
A bike bell is a percussive signaling device mounted on the handlebars to warn pedestrians and other cyclists that you are approaching. The most common design uses a thumb-operated lever that rapidly spins two metal discs inside the housing to produce a clear ringing sound. Simpler bells use a spring-mounted clapper that strikes a dome.
Is a bike bell required by law?
It depends on where you ride. New bikes sold in the United Kingdom have been required to include a bell since 2011, New Jersey requires a bell audible from at least 100 feet, and Ontario and Western Australia require a bell or warning device. Rules vary and change, so check your local traffic authority for the current requirement.
Which type of bike bell is best?
For most riders, a classic rotary thumb-lever bell is best because it produces a loud, clear, sustained ring and works reliably in wet conditions. Spring-clapper "ding-dong" bells are cheaper but perform poorly when wet, while compact flick bells suit road and gravel bikes with crowded handlebars.
How do I fit a bike bell?
Mount the bell within easy thumb reach just inboard of your grip, check that it does not interfere with brake levers or shifters, then tighten the clamp until snug but not crushing, taking extra care on carbon bars. Finally, ring it a few times to confirm it sounds clearly and springs back cleanly. The job takes about two minutes.
How much should I spend on a bike bell?
Basic spring-clapper and flick bells cost roughly 5 to 12 US dollars, while quality rotary and design-focused bells run about 12 to 30. Prices vary by brand and design, so confirm locally. Because bells are so inexpensive, there is little reason to skip one, especially where it is legally required.
More guides on Cycling (General)
Have a question or a topic to suggest?
We read every message. Tell us what you would like to see next on the blog.
Get in touchYou may also like

Cycling Gear: The Complete Guide
The right cycling gear keeps you safe, comfortable, and your bike secure. Here are the essentials, from helmet to lock, and what actually matters.

Bike Helmet: The Complete Guide
Safety standards, MIPS, and step-by-step fitting explained, plus helmet types for every rider and realistic prices for safe protection.
Bike Lights: The Complete Guide
The difference between being seen and being a surprise. Compare front and rear types, lumens, charging, and the legal rules on flashing, then choose the right set for your rides.